5/2/14: Cast on. I’m hoping to knit the clues soon after they are released, and actually finish this mystery sock KAL, unlike the last one I tried, which I ripped out a few weeks ago.
5/7/14: Finished clue 1, just hours before clue 2 was released. The cables are a little challenging, but fun. I made a small mistake on the back side of the pattern, but I’m not going back to fix it; it’s a design element.
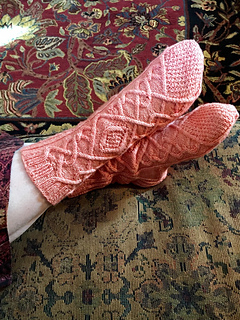
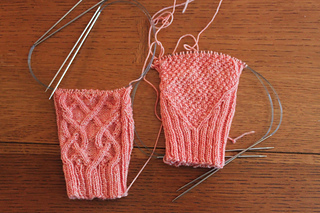
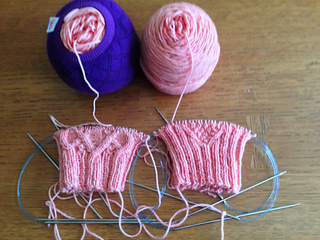
5/9/14: Only managed to knit two rounds last night. I hope to get more knit on this today. The photo I just posted shows both sides after clue 1.
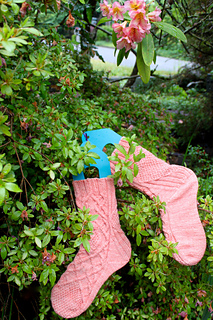
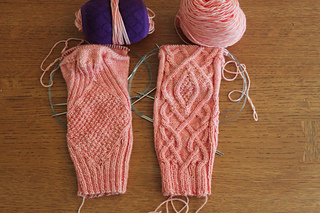
5/15/14: Finished Clue 2; on to clue 3! The color in the clue 2 photo is more accurate than the clue 1 photo.
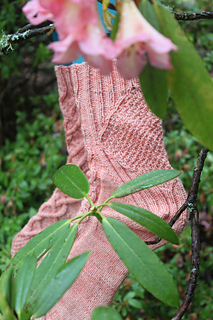
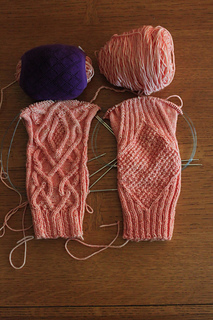
5/30/14: I finished Clue 3 yesterday, but it was too dark to take a photo, so that happened today. Next up is the heel.
6/2/14: The heel flap and the Fleegle heel are done on both socks. This is the second time I’ve knitted a Fleegle heel, and I have to say that it fits very well, and certainly moves along a lot faster than my standard heel flap/gusset heel.
6/13/14: I just finished grafting the toe on the last sock an hour ago. The socks are beautiful, and they fit! But there is a story to be told, so read on…
When I sat down to knit Clue 5, I discovered that there were two possible toe patterns. The alternate toe pattern was designed for people with a foot length of 8 inches or less. I measured my foot and determined that it was about 9 inches long, so I went with the regular toe pattern. At the end of that pattern, I was about 2 inches from the end of my big toe, which seemed about right. I started knitting the toe, following the pattern, which had decreases every fourth round initially. It didn’t take me very long to realize that if I continued in this way, the sock would be too long, so I started the every other round decreases about four rounds earlier than the pattern called for, and I began the every round decreases early, too. Once I finished grafting the toe, and tried the sock on it was too long. The toe was too wide for the way my toes are lined up, too. I decided to put the sock away and figure out what to do the next day (it was bedtime).
Well, I didn’t even have to wait until the next morning to decide what my next step would be. I woke up at 3:30 in the morning with this thought: I’m going to figure out how to undo the Kitchenered toe and rip and/or tink back and re-knit the toe using my standard toe method. After coming to that conclusion, I went back to sleep.
The next day, I got out my smallest tapestry needle, located the nub of the woven in end, and worked that end out of the stitch it was woven into and carefully undid the rest Kitchener stitches on the toe. Then I ripped back about three rows, managed to get all the stitches back on my two circular needles and tinked back until I had 32 stitches on each needle. This whole process took me about an hour-and-a-half.
In re-knitting the toe, I maintained the seed stitch pattern, but I placed my decreases as follows:
From 32 to 18 stitches on each needle: decreases every other round.
From 16 to 8 stitches on each needle: decreases every round.
Once there were 8 stitches on each needle I used the Kitchener stitch to graft the toe. (My big and second toes are taller than the rest of my toes, and going down to 8 stitches fits better than a wider toe.)
I followed this same process (minus the undoing, ripping and tinking) on the toe of the second sock.
I have never been brave enough to undo a toe before, and I am really proud of myself!
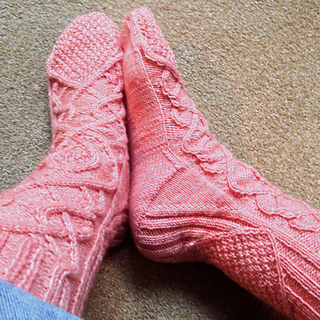
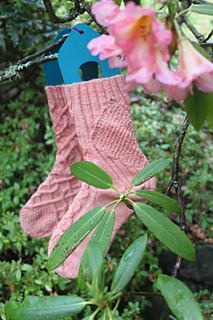
1/18/19: I have never worn these socks in the almost five years since I knit them, so I brought them to the Knitajourney retreat, because I was pretty sure that they would fit Susan, and they are definitely her color. I gave them to her today, and they fit and she loves them; a big win! I’ve added a photo of the socks on Susan’s feet.


 jchant notebook
  handspun
 queue
queue favorites
 friends
 needles & hooks
 library